Today’s post is about how to setup the Google Search Console properly for WordPress websites running over https.
What is the Google Search Console and why is it important for my WordPress website?
Contents
The Google Search Console is an absolutely critical part of your online business. Think of it like Google’s diagnostic checkup service for your website. If your site doesn’t rank well in Google’s Search index you’re going to have a hard time building an online business.
Why is it important?
Think of the Google Search Console as an early warning system for issues with your website that can have a disastrous impact on your ability to rank well in Googles search index. You should be checking the Search Console at least once a week for new issues that need your attention (I check it almost daily!).
How to setup Google Search Console properly for https WordPress websites
The Google Search Console (formerly called Google Webmaster Tools) is not the most intuitive piece of software ever created by Google (to put it mildly) and can cause a lot of confusion on what exactly you need to do as the proud owner of a new WordPress website. Let’s walk you through the process.
Step 1 – Sign up/in to the Google Search Console. If you’ve an existing Google account you’ll be logged in automatically. If this is your first website you’ll see something like this.
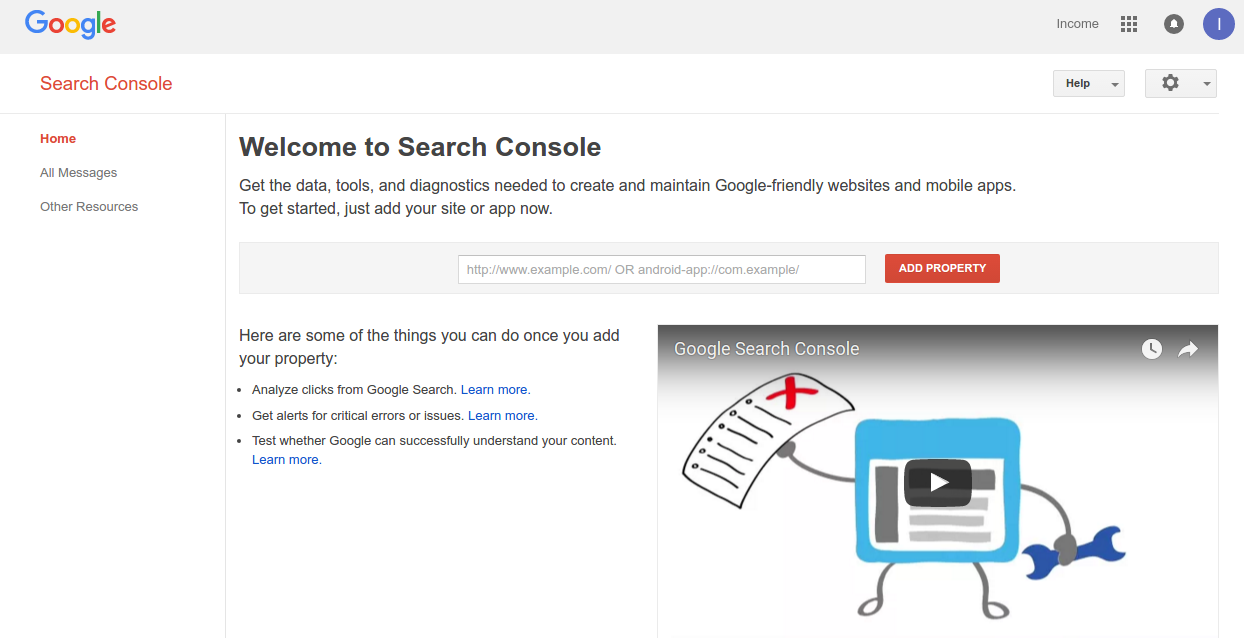
Which url do I enter?
Ok so this is way more confusing that it should be. Let me explain. It’s quite common for most of us to refer to website urls/address as “domain.com” – and this makes perfect sense for humans. For machines, there’s actually at least 4 different urls for your website – and technically they are all valid unique little snowflakes that could contain their own unique content (although in practice most of the time they simply redirect to your main master url). Four urls? Yip – for example, for incomegems.com, we have:
- incomegems.com
- www.incomegems.com
- https://incomegems.com
- https://www.incomegems.com
So the url you enter will be significant as Google Search Console will setup individual profiles for each one. Google refers to these as a “Property”. While this may seem ridiculous at first glance (i.e. why doesn’t Google simply merge all these into a single profile??), the reason is quite simple. As I alluded to above, at a low technical level each of these ur;s is unique and technically could serve different content and entirely different websites – hence why Google needs to respect well defined Internet engineering standards. What they certainly could do is spend some time explaining this to people when they’re setting up their search console for the first time. At present this isn’t explained at all and it causes no end of confusion to beginners setting up the Google Search Console for the first time. Of course, your next question will be what url should you enter? The short answer is all of them! You need to enter and validate all permutations of your main site url so you can then use Google Search Console to tell Google what your preferred url is. This is the single best reason why you should setup all permutations of your domain/property – control. Control of what you want Google to do and how it should display your domain in it’s search index – which get’s really important when you start to think about things like duplicate content penalties and the scope for Google to index 4 possible versions of your website!
So go ahead and enter the 4 permutations of your website url. (NOTE: I’m assuming you’ve already setup your website to run over https – if not you do so immediately – check out our 2 minute guide to setting up https for your WordPress website.)
Verify property ownership
After you enter a url you will see a screen like this.
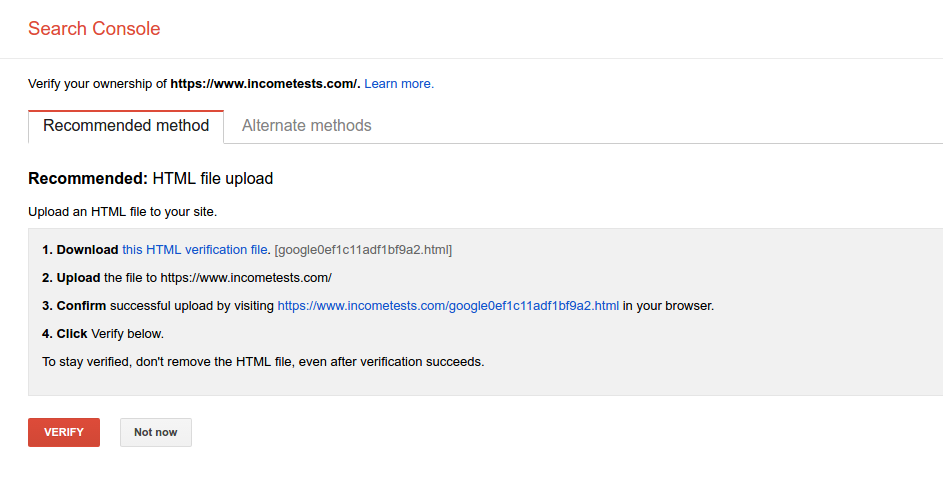
If you wish to can go ahead and upload the HTML file manually. What I prefer to do is use Yoast SEO to do this for me. If you install Yoast SEO (and you should have if you checked out our must have WordPress plugins list!) and go to the General->Webmaster Tools screen you’ll see this.

Go back to the Search console and click on Alternate Methods and select HTML tag. Copy the content code – and just the code into the Yoast SEO Google Search Console box.
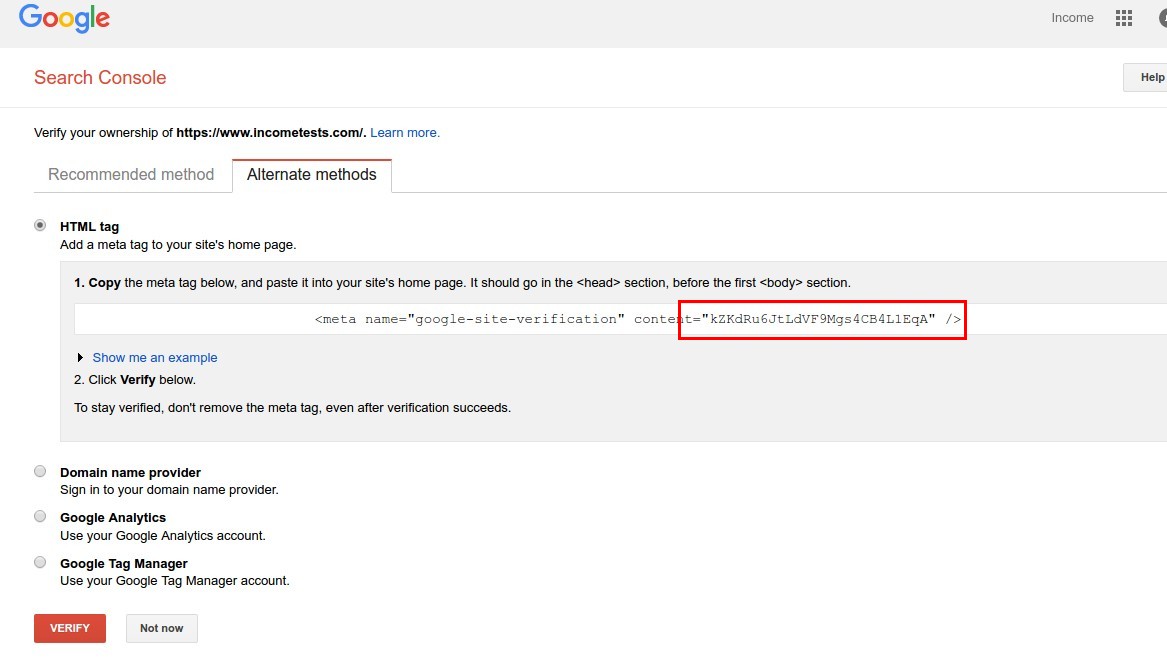
Click Save changes in Yoast SEO and head back to the Search Console and click Verify.
At this point you should see a congratulations message confirming the verification process is complete.
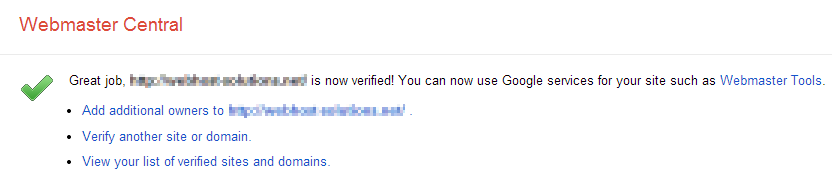
Rinse and repeat the verification process for all your urls – then it’s time to move on and set your preferred domain.
My strategy for my preferred domain in Google Search Console
You’ll read lots of opinions about which domain format is better – www.incomegems.com vs. incomegems.com. Here’s what I’ve learned – it’s not hugely important which one you pick. But it is important to pick one and stick to it – and make bloody well sure Google knows which one is your canonical url. My preferred strategy is to use https://www.incomgems.com. While this may be slightly old fashioned to keep the www version as the canonical version, things can get slightly messy with cookies and sessions with https site in the future if you simply use https://incomgems.com. (It’s beyond the scope of this post but suffice to say I’ve seen problems on larger sites with cookies being inheritied to subdomains when the top level domain lacks the www).
What that means is that when I’m looking at the Google Search Console I will need to make sure I’m looking at the https://www.incomegems.com property to ensure I’m looking at Googles diagnositics for my website – not the other 3 properties.
Set your preferred domain in Google Search Console
To set your preferred domain click the settings cog in the top right of Google Search Console and then select Site Settings
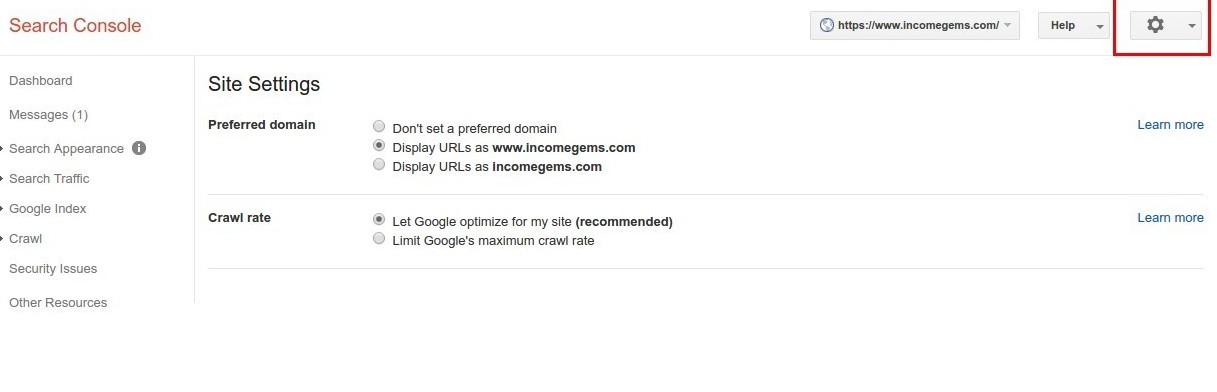
From the Site Setting screen select the Display URLS as www.mydomain.com option.
Completing the preferred domain setup process
The final part of ensuring Google knows what your preferred domain is involves ensuring you have setup a 301 redirect for your non-www domain and http:// domains. If you’ve already followed our https setup guide, the Really Simple SSL plugin does this for you.
If you’re not using that plugin you can set it manually by editing your .htaccess file and adding the following code to it.
Make sure to replace www.example.com with your domain!
And you’re done!
Congratulations you’ve taken some really important steps to let Google know how it should display your website in it’s search index. If your site is brand new it’s going to take some time for data to start to appear in the Search console. If you’re site has been up and running for a while you might be surprised to see some really useful data straight away! We’ll be back next time to look at some of the important things to watch our for in the Search Console.